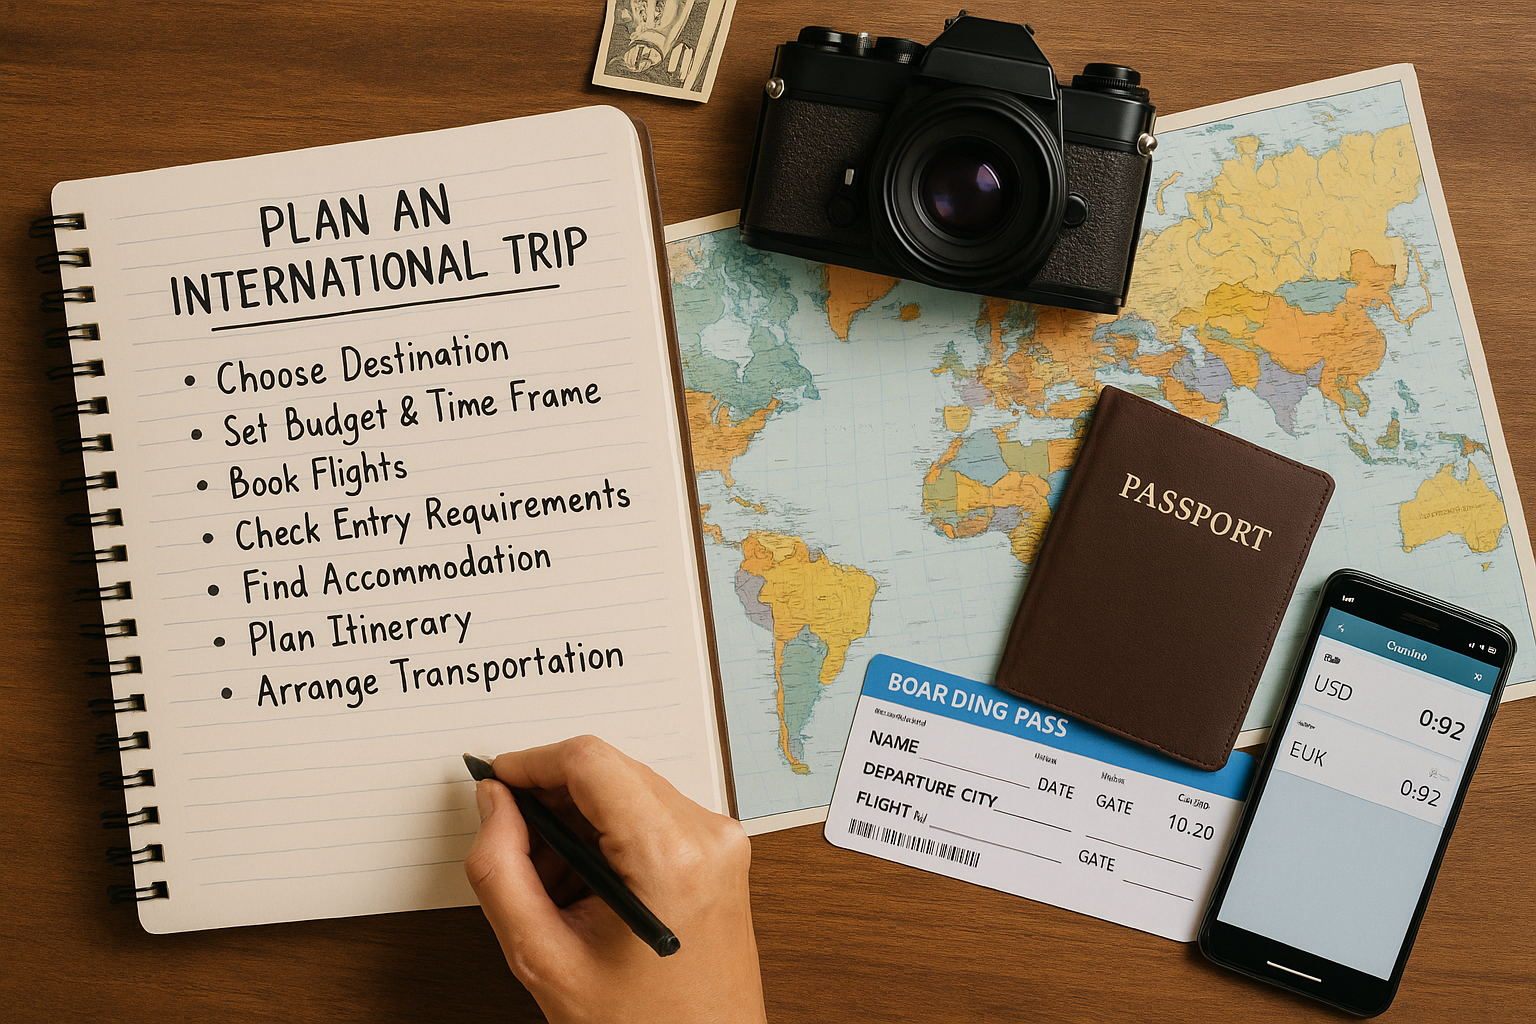
Planning an international trip without relying on a travel agency might seem overwhelming at first—but with the right tools and information, it can be not only manageable but also more flexible and affordable. This guide will walk you through every essential step to organize your own international adventure with confidence.
Why Plan Your Own Trip?
When you skip the travel agency and handle the logistics yourself, you gain several advantages:
- Full control over your itinerary
- Potential cost savings
- Flexibility to change plans
- Tailored experiences based on your interests
With digital tools, travel blogs, and mobile apps, planning has never been easier.
Step 1: Choose the Right Destination
Start by selecting a destination that matches your budget, travel goals, and preferences. Do you want to visit museums, go hiking, or relax on the beach? Make a list of places that appeal to you and compare them based on:
- Entry requirements (visa, vaccinations)
- Cost of living
- Safety and political stability
- Language barriers
- Climate and travel season
Websites like Lonely Planet, TripAdvisor, and travel forums can help you research thoroughly.
Step 2: Set a Budget and Time Frame
Define how much you can realistically spend and how long you want to travel. Your budget should include:
- Flights
- Accommodation
- Transportation within the country
- Food and drinks
- Entry fees and activities
- Travel insurance
- Emergency fund
Use budget planners or Excel templates to get a clear picture. Sites like Numbeo can help you estimate daily expenses in your chosen country.
Step 3: Book Your Flights Independently
Use flight comparison sites like:
- Google Flights
- Skyscanner
- Momondo
- Kayak
Tips to get cheaper flights:
- Use incognito mode
- Be flexible with dates and airports
- Set price alerts and monitor regularly
- Book 2-3 months in advance
Always double-check baggage policies and cancellation rules before purchasing.
Step 4: Take Care of Visas and Travel Documents
Research visa requirements for your nationality well in advance. Some countries allow visa-free entry or visas on arrival, while others require prior approval.
Common documents you’ll need:
- Valid passport (check expiration date)
- Visa (if required)
- Travel insurance
- Return/onward ticket
- Proof of accommodation
Visit official government websites for accurate and updated information. Don’t rely solely on blogs or forums for visa rules.
Step 5: Find the Perfect Accommodation
You can find great deals online without needing a travel agent. Consider:
- Hostels (Hostelworld, Booking.com)
- Budget hotels (Agoda, Expedia)
- Vacation rentals (Airbnb, Vrbo)
- Guesthouses and local stays
What to look for:
- Verified reviews
- Location (near transport or main attractions)
- Included amenities (Wi-Fi, breakfast)
- Cancellation policies
Some platforms offer discounts for longer stays or for booking early.
Step 6: Create a Flexible Itinerary
You don’t need to plan every minute, but having a daily outline will help maximize your time.
Start by:
- Listing must-see sights and experiences
- Grouping activities by area
- Checking opening days and hours
- Leaving time for spontaneous exploration
Use tools like Google My Maps, TripIt, or Wanderlog to map out your days.
Step 7: Organize Local Transportation
Each country has different transport systems. Research:
- Public transportation cards or passes
- Intercity buses or trains
- Ride-sharing apps (Uber, Bolt, etc.)
- Bike or scooter rentals
- Rental cars (if needed)
Tip:
Download offline maps and local transport apps before your trip.
Step 8: Prepare for Currency and Communication
Exchange some local currency before you arrive or use ATMs upon landing. Always inform your bank of international travel.
Essentials to manage money abroad:
- Debit/credit card with no foreign transaction fees
- Currency converter apps
- Secure wallet or money belt
For communication:
- Buy a local SIM card or eSIM
- Use messaging apps like WhatsApp or Telegram
- Install translation apps (Google Translate)
Step 9: Get Travel Insurance
It’s a must—even if you never use it. Travel insurance can cover:
- Medical emergencies
- Cancellations and delays
- Lost luggage or theft
Compare policies through platforms like SafetyWing, World Nomads, or local insurance companies.
Step 10: Pack Smart and Travel Confidently
Make a checklist based on your destination’s weather and culture. Don’t overpack—choose items that are versatile and lightweight.
Essentials to bring:
- Copies of documents (physical and digital)
- Power adapter
- Basic medicine
- Reusable water bottle
- Travel pillow, eye mask, earplugs
Check if any countries require proof of vaccinations or customs declarations.
Final Words: Be Your Own Travel Expert
Planning your own international trip gives you freedom, flexibility, and a deeper connection with the journey. It may take more time and research, but the rewards are worth it. You’ll not only save money, but you’ll also feel empowered and proud of what you accomplished on your own.
Now go ahead—your passport is your ticket to the world. Start planning and embrace the adventure!
